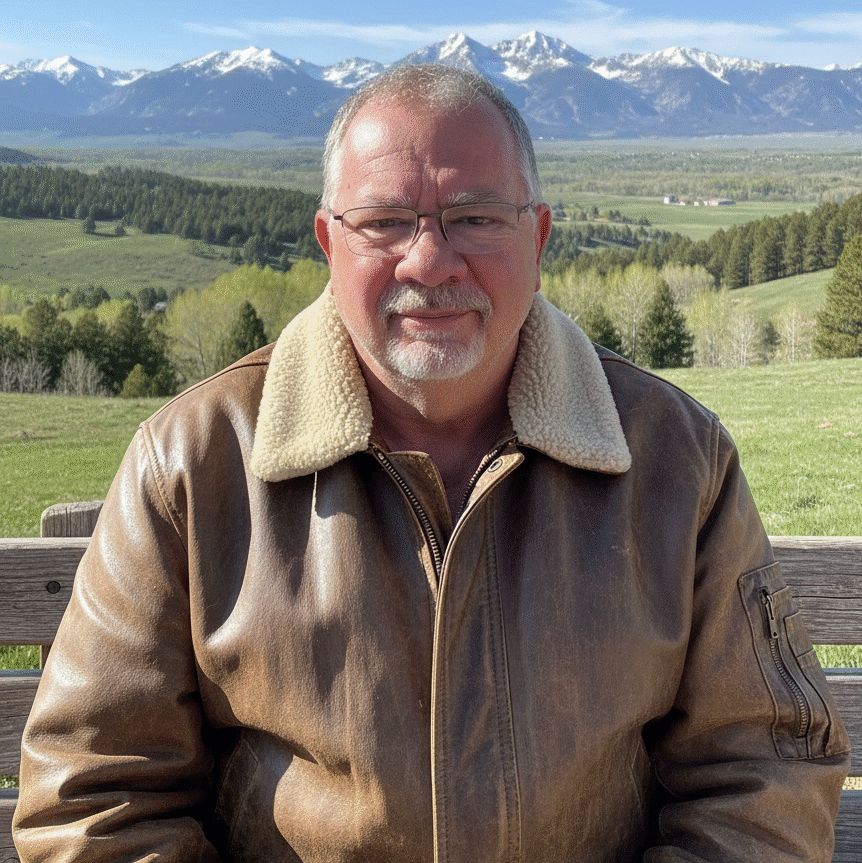
• Home
  • Gallery
    • People Gallery
    • Products Gallery
    • Wedding Gallery
  • Your Choice
  • About Me
  • Contact Me
  • Investment
Follow

Halloween Preparations

Oct07
2007
Leave a Comment Written by KerryG

img_0014-2.jpgIf you don’t know me very well, let me explain that I enjoy going a little nuts around the holidays. While my snobby neighbors have spent more on Christmas decorations than I make in a year, I opt to go a little bonkers for holidays like Halloween. The irony is that we get maybe 10 kids to our door every year so doing the decorations is more for us than for the local kids. This year, well….we are going a little over the top.

Headstones
The headstones are new and from several local halloween stores. Two of them have fresh dirt in front of them for that “just buried” look. For added flair we bought a 400 watt fog machine and during the first test, the wife decided we needed more headstones and a second fog machine.

Witch’s Brew
img_0031.jpgI am actually having an issue with this one. The test here is a large plastic cauldron full of warm water with some chunks of dry ice. My problem is that a pound block of dry ice costs about $9 and will last in this container with good output for about 45-60 minutes if you drop more pieces of dry ice in about every 7-10 minutes. This is a little pricey to run all night long. I am looking at miniature foggers but am trying to see one in operation before dropping the 30 bucks for one.

Hanging Skeleton
We have had the hanging skeleton for a few years now. Now very realistic looking, but I just have to reuse him every year.

Fog Chiller
img_0023.jpgAfter playing with the 400 watt fogger, I decided to get a second machine and upped the ante with a 1000 watt unit. The problem with these things is that the fog that comes out is actually fairly warm so the moment it comes out of the machine, it rises instead of staying low to the ground. The solution to this problem is to cool the fog down before dispersing it, this will cause two things to happen, a) the fog will stay low to the ground longer, b) the fog will be denser.

After researching dozens of fog chiller designs, I decided on a design that combines several designs from other people into a design that I think will work pretty well.

While my original design was going to use 2″ PVC piping, as I was walking around Home Depot, I decided to go with my backup design using aluminum heater ducting as I felt it would conduct the cold better thus making it more effecient.

img_0007.jpgI started with a large plastic container and cut a few holes in it. In the bottom was mounted a swivel head exhaust port and sealed with caulk. This would help hold the pieces together as it gets moved around.

Before attaching the heater duct, I recommend expanding it as much as you can, this will give you as much surface area as possible which will aid in the cooling of the fog.

img_0008.jpgAfter working the duct work into the container it goes back out another hole and then has a 2″ reducer on it to fit better against the front of the fog machine. To use, you simply fill the container with ice, close the lid, put the fog machine on top and let her rip. A combination of regular ice and drive ice should get the temperature even lower and will help the ice to last longer. Another technique that works pretty well is to use the re-usable freezer bags or dry ice and put directly into the duct pipe.

img_0022.jpgThe result works actually pretty well. It may be a little hard to see in this picture since it was taken in the middle of the day with a strong wind blowing. But since I tested it first with no ice first, I can see that there is a huge difference.

So now we have a nice chiller for the large fogger, but what to do about the smaller one?

Small Fogger Chiller
img_0007-2.jpgI didn’t think I needed as big of a chiller for the small fogger since it is less than half of the wattage of the big guy. Since I had bought a second piece of duct work, I decided to try just putting ice into the tub itself. Using a few bags of re-usable “ice” as a first test, the difference again was just what I was looking for. Instead of filling the room with fog, the fog hung out 1-2 feet above the ground and was a little denser, exactly what I wanted to accomplish. For Halloween, I will use a few more freezer bags both inside and on top to cool the duct as much as possible and have it shoot fog from the side of the house directly towards the back of the headstones.

Coming soon – the pumpkin carving, spider web, scary skull, and a few other surprises.

Posted in News - Tagged Orange County Events Photography
SHARE THIS Twitter Facebook Delicious StumbleUpon E-mail
← In search of the giant cactus
Wedding of Katie and Dan →

No Comments Yet

Leave a Reply Cancel reply

You must be logged in to post a comment.

Categories

  • Weddings / Engagements
  • Products / Commercial
  • People
  • Events
  • Nature
  • News
  • Blog
  • Featured
  • For Photographers
  • Pets / Animals

Pages

  • About Me
  • Contact Me
  • Gallery
    • People Gallery
    • Products Gallery
    • Wedding Gallery
  • Investment
  • Your Choice

Archives

Tags

AR Drone California camera Charity Editorial Education Equipment Events Flash food GoCast Gun Lighting Long Beach Wedding Photography Models News Orange County Orange County Engagement Photography Orange County Events Photography Orange County Headshot Photography Orange County Portrait Photography Orange County Product Photography People People Personal Projects photography Photography Education Photowalk podcast Products resteraunt review Rifle Strobe Strobist Taylor Tustin Tutorial Video Weddings Weddings / Engagements Westcott Western Workshops WPPI

EvoLve theme by Theme4Press  •  Powered by WordPress Kerry Garrison
Southern California / Orange County Wedding Photographers